I have been wanting to give painting Michigan on a pallet a try. I am not an artist, I am one of those people who struggle to draw a recognizable stick figure, but there are so many cool ideas on Pinterest that I was determined to give it a go.
 |
| Plain Pallet |
It is a fairly large piece - 2 ft x 3 ft. (It is hanging on a wall across from my cubicle - Maybe not the perfect place to have a rustic piece, but this is it's home for now, and it makes me happy looking at it!)

_________________________________________
This pallet already had the boards close together, so I only had to take off the back pieces. I did nothing else, which sometimes you have to dissemble then reassemble your pallet wood. I wanted a quick project, and it seems taking a pallet apart is the hardest part. Do you see the dark streak of wood across going along the length of the piece? That is my favorite part!
Notice that on the opposite side there is a large piece splintering off:


I cut off the splinters with a hack saw, and then used a wood file to smooth it out, and then sanded the whole piece. I am fortunate to have a lot of tools to use when I make stuff here at Goodwill. When I was looking for a wood file, I found this jackpot in the maintenance department. Just a little intimidating!

I was worried that the more splinters I cut and peeled, and the more I filed, I was losing a lot of wood, but I actually liked how it looks finished with the wavy edge, it just added more character to the finished piece.
I am a fan of using what you have, so I found a used can of stain and a foam brush to stain the top and and the sides.

I am always amazed when it comes to the part of adding stain to a pallet project. It instantly takes the pallet from a discarded piece of junk to something beautiful.

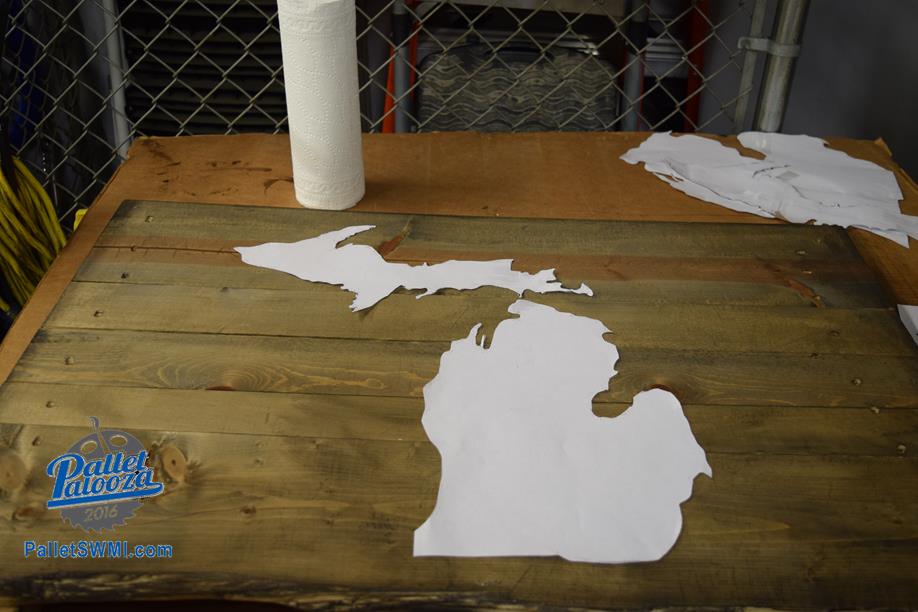
I am not an artist, so I definitely needed something to trace out the shape of Michigan. I found a free outline on Google and uploaded the picture to blockposters.com. This is a a great website! Since my pallet was so big, I needed a large pattern. I printed the outline on four pieces of paper, then cut it out and taped it together. Voila! I now had a very large pattern.

With the Upper and Lower Peninsulas of Michigan, it was a bit of a struggle getting them to line up without the UP falling off, I ended up reducing my pattern on the copier just a smidgen to make it fit.
I traced the pattern with a silver sharpie, because that is what I had on hand,

and then painted in the lines with a spare can of white Rust-oluem. It was a little thick from being old but that ended up being a good thing.

When the paint dried, I started roughing up the paint with a wire brush, which was too harsh, then switched to a course grit sandpaper. As it turned out, when I sanded close to the edge of the pattern, a little bit of the silver sharpie showed through, and it looked kind of cool. With that accidental discovery and the thick spots of paint, it gave the piece dimension, and kind of looks like topography.

Overall I am very pleased, but now I want to try another one, maybe with blue stain all around to reflect the Great Lakes, and then I have another idea.......
________________________________
Do you love Michigan Art on Pallets? Make your masterpiece and enter PalletPalooza Today! Go to PalletSWMI.com
UPDATE: Since we put this up for display - someone has added gel hearts to mark their favorite places.

I am going to be keeping an eye out to see if they get moved around the state!
No comments:
Post a Comment